How to Tint Your Eyebrows and Eyelashes at Home
Here at The Parlour Room we’re dedicated to helping you look and feel your best. While all our recommendations are curated by our team of in-house experts we may also earn affiliate commission if you choose purchase through our links.
Full brows and long lashes will never go out of fashion.
While some are genetically blessed with these traits all year, others...not so much. If you’re sick of having to reapply mascara each day or tired of using a pencil to fill in those gaps, tinting can be an easy alternative.
If you can’t book in an appointment with a professional and want to try it at home, just follow our steps below. You’ll have luscious looking lashes and full, bushy brows in no time at all.
WHAT IS TINTING?
Tinting is the process of applying a semi-permanent dye to enhance and define the colour of an area.
When we tint our eyebrows, they’re given a much thicker and fuller look. Eyelash tinting, on the other hand, mimics the effect of mascara.
Although tinting won't give you any extra volume or length, it will give depth with a much darker appearance.
HOW LONG DOES A TINT LAST?
Typically, an eyebrow tint will last a little longer than an eyelash tint, where you can get away with booking your follow up treatments roughly 4-6 weeks apart.
Our eyelashes, on the other hand, will need booking in at most, 4 weeks apart. Not necessarily because the dye fades (it is permanent), but as our eyelashes fall out, newer, lighter hairs grow in its place.
HOW TO TINT YOUR EYEBROWS AND EYELASHES AT HOME
Although it’s best to get your tinting done by a professional, you can do it at home following our steps below.
What you’ll need:
Vaseline
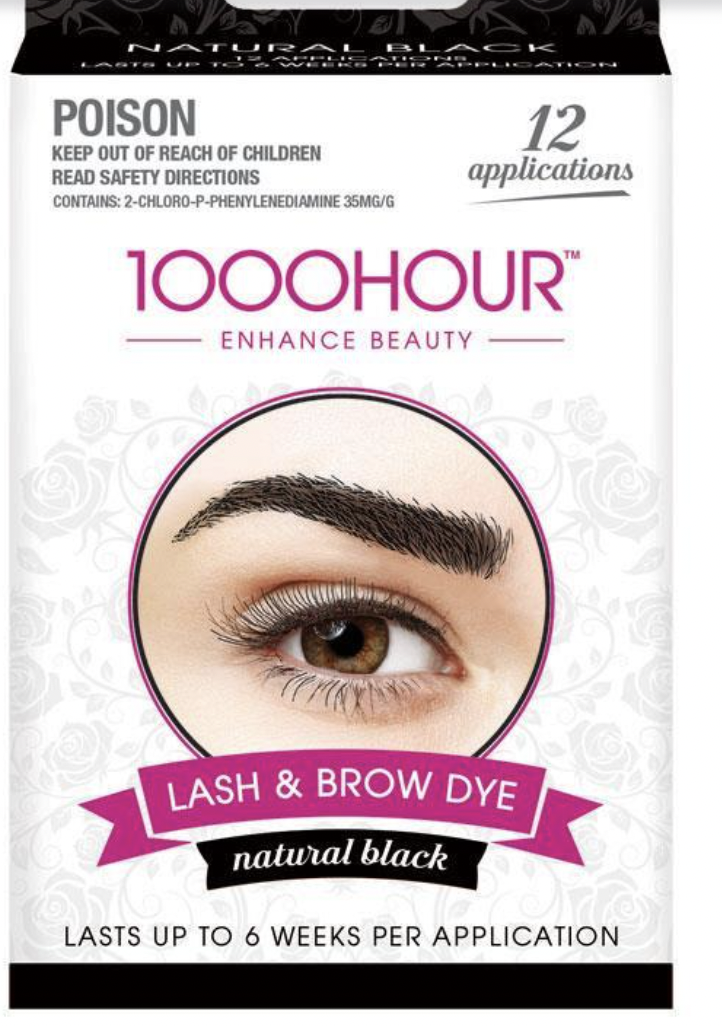
Tint (we recommend the 1000hour range)
Pro tip - choose a blue/black colour for your eyelashes, and either a light or dark brown colour for your eyebrows.Cotton tips
Cotton wool pads
HOW TO TINT YOUR EYEBROWS AT HOME
STEP 1: CLEANSE THE SURROUNDING BROW AREA
Using your regular facial cleanser, cleanse the brow area and take off any residue so it’s ready to be tinted.
STEP 2: APPLY VASELINE AROUND THE EYEBROW
If things get a little messy, the vaseline will act as a barrier. Preventing any stains on the surrounding skin. Just apply a little bit above and below the brow.
STEP 3: MIX THE TINT & APPLY OVER THE EYEBROW
Once you’ve mixed the tint (you’ll only need a small amount here, a little will go a long way - trust us), take your cotton tip and gently apply over the brow.
Pro tip - if any mishaps occur and you get it on the skin, just use the other end of the cotton tip to wipe it away. The vaseline will prevent it from staining.
STEP 4: LET THEM SIT FOR 5 MINUTES
We recommend letting the tint sit anywhere from 5-10minutes. If you’re nervous that your brows will go too dark, then just apply for 30 seconds at a time. That way you can monitor the colour. You can reapply as many times as you want to make them darker.
STEP 5: REMOVE THE TINT WITH A CLEANSER
Again, using your regular facial cleanser, remove the tint from your brow working from the inside out. Following the direction of the hair.
HOW TO TINT YOUR EYELASHES AT HOME
STEP 1: APPLY VASELINE ABOVE AND BELOW THE EYE
As with the eyebrow tint, the vaseline will act as a barrier and prevent any stains on the skin.
STEP 2: MIX THE TINT & GENTLY COAT THE LASHES
You don't need much tint for the lashes, so once you’ve mixed the tint, take your cotton tip and gently apply on the lashes. Starting on the top lash line, brush down, and then up from underneath, being careful of your waterline as you repeat on the bottom lash line.
Pro-tip - Be careful not to get the tint on your waterline - this is where it can sting!
STEP 3: LET THEM SIT FOR 10 MINUTES
If it starts to sting, remove the tint right away. You can always reapply.
STEP 4: RINSE THE TINT OFF OVER THE SINK
Leaning over the sink, wipe the tint off with two, wet cotton wool pads. Don’t worry if the tint gets onto the skin, just clean it with the pads.
Pro-tip - To make sure your tint lasts as long as possible, it’s important to keep the area dry immediately following the treatment for up to 24hrs.


